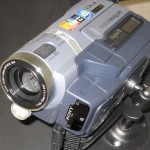
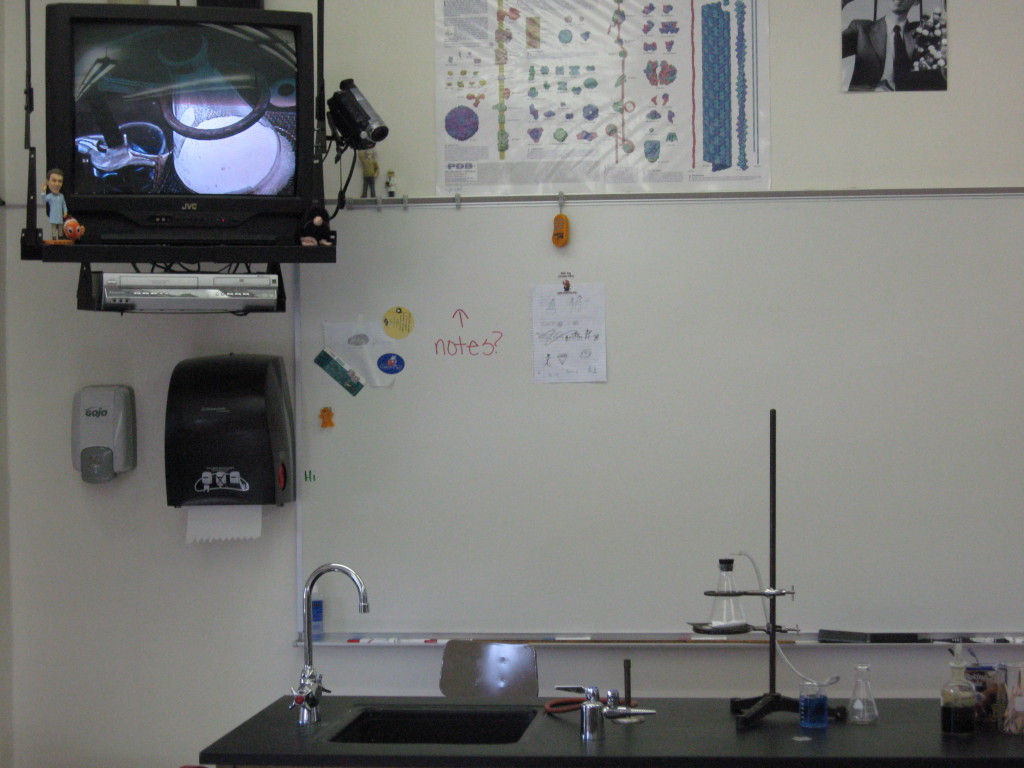
 After being frustrated with my students not being able to see all of my demonstrations, I decided to make a demo cam with some of my electronic junk.
The demo cam is simply an old Sony Handicam Digital 8 camcorder mounted on an inexpensive Videosecu Universal Camera Mounting Bracket.
The camera has an adapter that splits into an RCA video/mono audio cable, which I can easily plug into my classroom television. Switching the input on the TV is a piece of cake, and using the TV doesn’t interfere with the interactive whiteboard.
Here are some of the benefits:
1. I can project demos onto the television above, so the entire class can see every bit of the demonstration.
2. The zoom function is quite impressive; I can easily zoom in on discreet parts of the demonstration not easily seen – even by the person doing the demo. This is made even easier with the use of the remote control.
 3. Safety. The demo cam allows me to show demos without the need for the students to come anywhere near it; it also is far enough away from the demo so the camera is not damaged as well.
4. Because I have to use the record function to keep the image on screen, I can easily capture video of the demonstration. As there is a firewire output, I can easily capture the video with a connected laptop, and share it online (below see video demonstration of adding sodium to water).
Sodium in Water from Brian Bartel on Vimeo.
5. I can also capture slow reactions over a long period of time, import them to a computer and speed up the video to a shorter time (see video of copper in silver nitrate solution).
Some of the Drawbacks:
1. The angle is a little ackward because of the mounting limitations. It takes a little practice not to walk in front of it, and to make sure that the demo is in the viewing area while zooming.
2. In order to use the TV as a monitor, I have to use the record function. This requires me to stand on a stool, and manually rewind the tape every hour (it cannot be done with my remote).